
Your First Studio? Start Here!
We regularly meet with musicians, producers, and podcast creators who dream of having their own recording studio, but for various reasons feel it's a goal beyond their reach. The reasons are many: for some, the barrier is budget; for others, the very concept of working in a studio seems too complicated. However, there are many ways to overcome these obstacles, and one of the most proven solutions is thoughtful, gradual system building from the ground up. In this series of articles, we'll guide you through key equipment decisions, acoustics, and ergonomics to create a stable, professional system for recording, mixing, and music creation.
Before You Begin. Three Fundamental Questions
Before you invest any money in equipment, it's worth pausing for a moment to answer a few key questions.
First - what is your studio's purpose? Are you mainly planning to produce electronic music in a DAW, record vocals and acoustic instruments, create podcasts, or perhaps work on post-production for films? Each of these scenarios requires a slightly different equipment minimum and a different approach to room acoustics.
Second - what is your realistic budget? Plan not just for the equipment itself, but also reserve funds for acoustics and accessories – cables, stands, pop filters, monitor isolation pads. We deeply believe in the philosophy of "buy less, but consciously" rather than accumulating equipment without a thoughtful strategy.
Third - what does your space look like? Square footage, room proportions, ceiling height, ability to mount acoustic treatments – all of this matters enormously. Even the best equipment won't sound good in a room that doesn't support it, while decent equipment in a well-prepared space can deliver surprisingly professional results.

Signal Chain and the Role of Acoustics
Before we dive into individual studio elements, it's worth understanding the basic signal flow chain. In its simplest form, it looks like this: a sound source (microphone or instrument) connects to an audio interface, which converts the analog signal to digital and sends it to a computer with an installed DAW. Processing happens there, and the finished signal returns through the interface to studio monitors or headphones. Sounds simple, but the quality of the final sound is influenced not just by individual devices – room acoustics and proper listening position setup are equally important, and often even more important than the equipment itself.
This may sound controversial, but we'll say it straight: acoustics is more important than equipment. We've seen countless home studios with impressive setups that sounded mediocre because their owners neglected acoustic treatment. Acoustic problems can be divided into several categories. In small rooms, low frequencies accumulate in corners, creating resonances that make some bass notes sound much louder than others – this turns bass mixing into a guessing game. The solution is bass traps strategically placed in floor and ceiling corners. The second problem is early reflections – sound from monitors reaches your ears not only directly but also by bouncing off walls, which blurs the stereo image. Acoustic panels at early reflection points dramatically improve clarity. The third key element is symmetry: the ideal listening position is on the room's axis, with equal distances from side walls, and monitors forming an equilateral triangle with your head. Don't forget vibration isolation – pads under monitors will limit vibration transfer to the desk, which is one of the most cost-effective investments in sound quality.

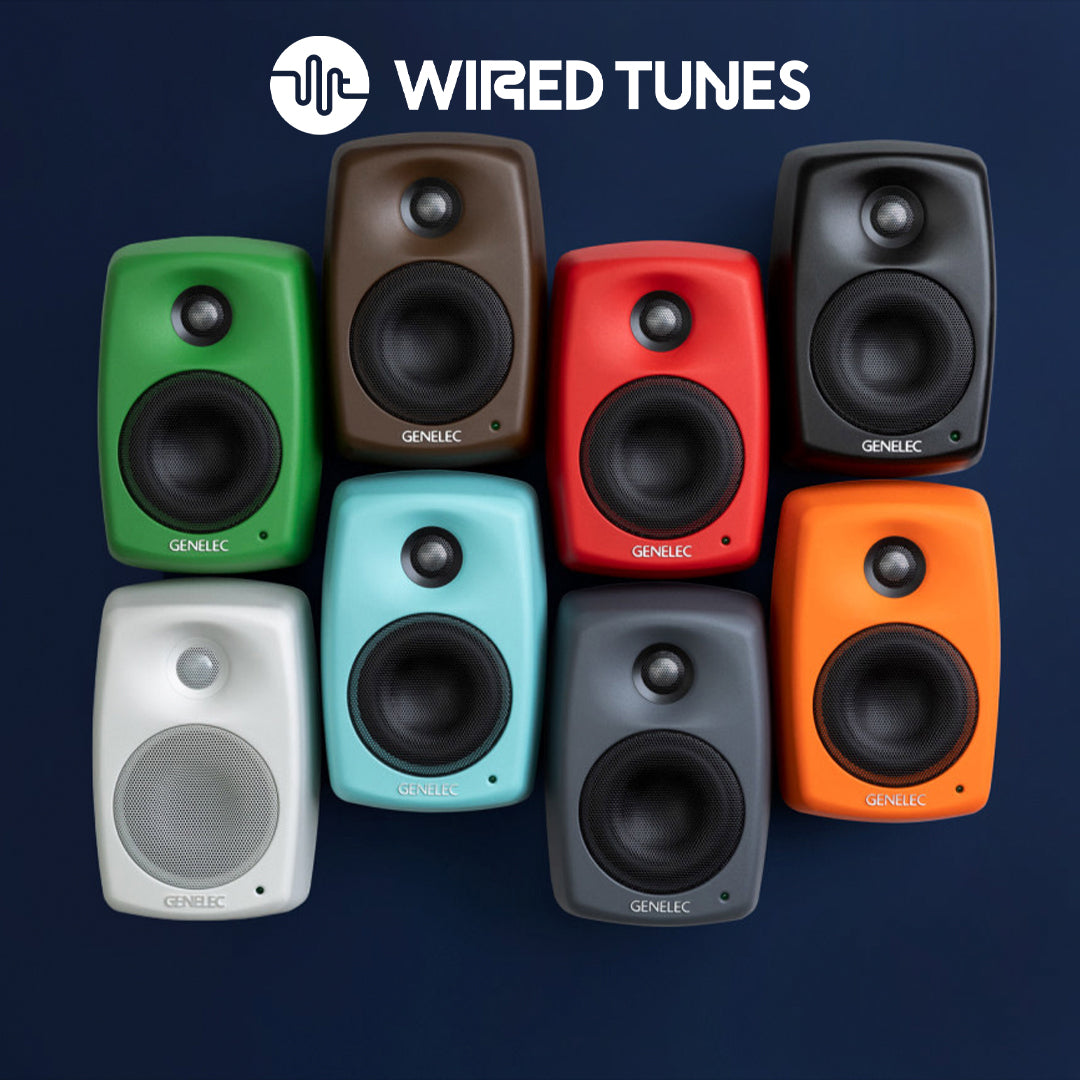
Nearfield Monitors. Your Window to Music
Choosing studio monitors is one of the most important decisions, and simultaneously one of the most confusing for beginners. There's a common belief that "bigger = better," but in reality, size selection should be closely tied to room size. Monitors are called "nearfield monitors" because they're designed to work at a short distance – typically 1-2 meters. As a reference point: monitors with 4-5 inch woofers work well in rooms up to about 12 square meters, 6-7 inches are ideal for spaces of 12-20 square meters, while 8 inches and larger require truly spacious rooms. What happens when you choose monitors that are too large? Bass will be overwhelming, unclear, and balance completely disrupted. Monitor placement is equally important – tweeters at ear height, slight inward angle, equal distances from side walls, and forming an equilateral triangle with your listening position are the basics. What about a subwoofer? Add one only when you already know your room's character well and can integrate it properly – a poorly set up subwoofer will do more harm than good.

Headphones and Audio Interface. Completing the System
Many producers make the mistake of treating headphones as an optional accessory, when in reality they're an essential tool offering perspective that monitors can't provide. The world of studio headphones divides into three categories: closed-back offer isolation and are ideal for recording, open-back are favorites for long mixing sessions thanks to natural sound, and semi-open are a compromise between them. When choosing headphones, comfort and headband stability are just as important as sonic character – headphones that become unbearable after an hour will sit in a drawer, regardless of how good they sound.
An audio interface is the heart of a modern studio – it translates the analog world of microphones and instruments into digital data for the computer, then performs the reverse operation for monitors and headphones. The first question is: how many inputs and outputs do you need? Consider not just current needs, but also future plans. Recording solo vocals? An interface with two inputs is enough. Planning to record a band? Consider four or more inputs. Preamplifier quality determines how cleanly your microphone will be amplified – a clean, transparent preamp lets you hear the true character of the source, while a noisy one can ruin a recording. Driver stability is another key factor – the best hardware won't help much if the software keeps crashing. USB is the standard and works great for most applications, Thunderbolt offers lower latencies with high channel counts. Some interfaces offer digital expansion (ADAT, S/PDIF), allowing future system expansion without replacing the main unit.

Microphones and MIDI Controllers
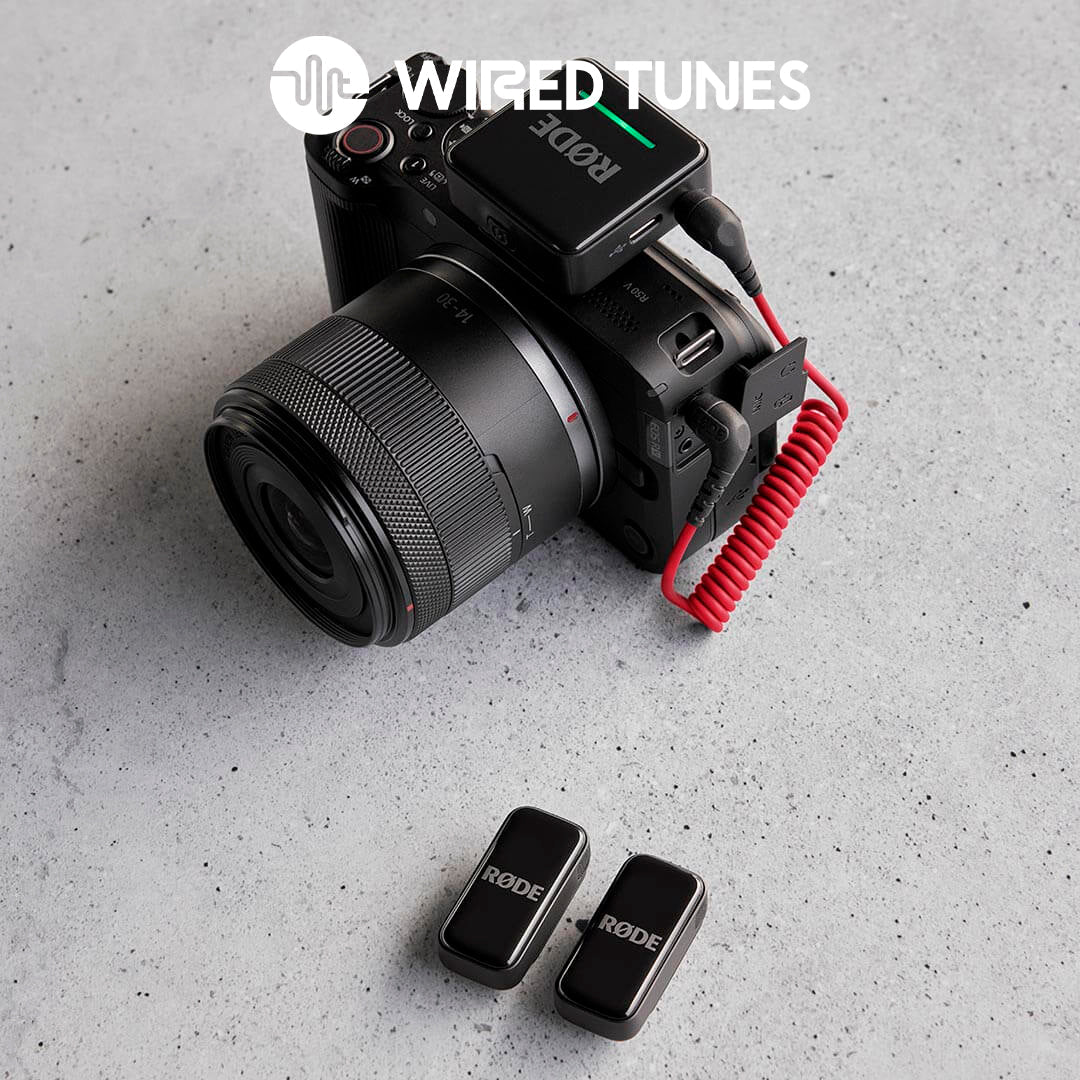
The world of microphones can be overwhelming for beginners, but to start, it's worth understanding the basic types and their applications. Dynamic microphones are durable, handle loud sources well, and don't require phantom power – ideal for guitar amplifiers, drums, and podcasts. Condenser microphones are much more sensitive and detailed, capturing subtle nuances of vocals and acoustic instruments, but require phantom power (+48V) from the interface and are more delicate. Ribbon microphones offer a darker, smoother "vintage" character, are wonderful for smoothing overly bright sources, but are usually more expensive and most delicate. Besides the microphone itself, it's worth investing in a pop filter (protects against plosives), shock mount (isolates from vibrations), and acoustic shield behind the microphone in more difficult rooms. Our advice is: start with one good microphone matching your main applications – a large-diaphragm condenser for vocals or a solid dynamic for podcasts.

Contemporary music production relies heavily on virtual instruments, and using a MIDI controller changes everything – work becomes intuitive and simply faster. MIDI keyboards come in various sizes: compact 25 keys work perfectly in small spaces, 49 keys offer a four-octave range sufficient for most producers, while 61 or 88 keys are the choice for pianists needing to play complex two-handed parts. Beyond keys, many controllers offer pads (great for programming rhythms), encoders and faders allowing hands-on control over parameters in DAWs and software synthesizers, significantly speeding up work and making it more creative.

DAW, Ergonomics and Sample Configurations
Digital Audio Workstation – DAW – is the software environment where all production magic happens. Good news: all major DAWs today offer a complete, professional toolset. Logic Pro, Ableton Live, FL Studio, Cubase, Pro Tools, Studio One, Reaper – each is used to create hits. So which to choose? The one where you'll complete your tasks fastest and that best fits your workflow. Some DAWs are better for electronic production (Ableton Live), others for traditional recording (Pro Tools), still others offer great balance (Logic Pro, Cubase). As for plugins – to start, the basic package included with your DAW is enough, providing a complete set of equalizers, compressors, reverbs, and synthesizers. Add extensions for specific needs, not in advance.
Studio ergonomics have enormous impact on productivity and health. The desk should be at proper height (forearms at 90 degrees), pulled away from the back wall for better acoustics. A chair with adjustment and lumbar support is an absolute must – you'll spend hundreds of hours in it. Set your computer monitor at eye level. Don't underestimate cable management – cable chaos makes troubleshooting and configuration changes difficult. Invest in a quality surge protector, label cables, use ties or cable channels.
To translate this information into concrete decisions, we'll present three sample configurations. Starter Level: a pair of 4-5 inch monitors, interface with 2 inputs, one pair of headphones, one microphone, basic acoustic panels, DAW and 25-49 key MIDI keyboard. Intermediate Level: 6-7 inch monitors, interface with 4 inputs and ADAT, condenser plus dynamic microphone, closed and open headphones, significantly more acoustic treatments, MIDI controller with pads. Pro Level: monitors matched to room size with possible subwoofer, interface with digital expansion and high-end converters, microphone collection, room measurement and calibration (Sonarworks, ARC), external outboard gear, ergonomic studio furniture.
Smart Development Plan and Common Mistakes
One of the most common beginner mistakes is trying to build the perfect studio all at once, in one sweep, which usually ends in frustration and over-investment in wrong equipment. A much better strategy is gradual development: Step one is always acoustics and placement – even basic panels in key locations will yield better results than expensive equipment in an untreated room. Step two is a solid interface and monitors matched to the room – this is the foundation on which you'll build everything else. Step three is a microphone and headphones for main applications – one good microphone is better than three mediocre ones. Step four is workflow-improving tools and ergonomics, and only then, if at all, consider a subwoofer or external outboard gear.
The most common mistakes we've seen over the years are: buying monitors that are too large for a small room (size must be proportional to the space), neglecting acoustics and poor workstation placement (the most expensive monitors will sound mediocre in a poorly sounding room), accumulating equipment without clear purpose (every element should have a specific application), excessive plugins without real need (too many options paralyze creativity – master a basic toolset before investing in more), and neglecting ergonomics (back pain after a few hours isn't part of "artistic suffering," it's a signal something's wrong).
Visit Us at the Showroom
Reading about studio equipment and actually experiencing it are two completely different things. All equipment discussed in this series can be tested at the Wired Tunes showroom in Warsaw – our team will help select monitors, interface, and microphones for your specific space, we'll show the practical impact of acoustics and calibration on final listening. Also check out our Your Studio page, where we share detailed advice on creating a professional work environment. In upcoming articles, we'll dive into the details of choosing headphones, studio monitors, audio interfaces, and microphones – from theory through practice to specific recommendations.